I've dubbed these my 'hoodles' or Halloween Doodles for short. I tried to pick simple things to help everyone feel confident in tackling them. I'll also share the order in which I drew the parts, because that might be helpful. Of course you can draw yours in pencil, and then ink them later, but pencil won't show up well in photos, and I prefer drawing in ink. These are all done with a Sharpie Ultra Fine point marker.
When I took the photos right in the sketch book, the lines of the next drawing showed through, so I airbrushed it out. Please excuse the slightly mismatched white backgrounds from the editing process.
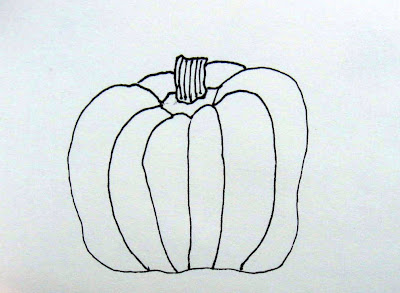 |
| First practice drawing your basic punkin. Outer shape first, then stem, then ribbing lines and lines on the stem. |
|
|
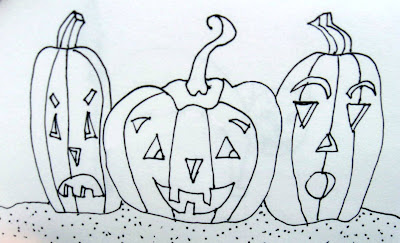 |
| Three Jack-o-lanterns |
|
|
First I drew the middle pumpkin, then one on each side, carefully overlapping them.
Next I added the faces being sure to add detail lines to show dimension.
Then I added the lines matching the curves of the pumpkin. Try to get a different facial expression
for each one.
Add the horizon line on the ground.
Add dots to indicate soil.
This type of drawing makes a good 'color yourself' Halloween card. You can color or paint it in with crayons or watercolors or felt markers. Make sure you draw it on a thick enough paper to handle whatever media you plan to use.
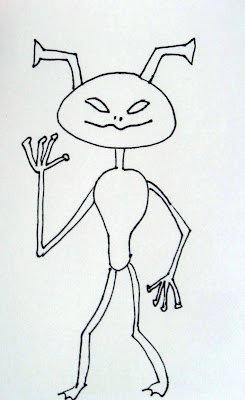 |
| Aliens are a lot of fun to draw. |
|
The simple lines of this alien make it a great candidate for carving it as a rubber stamp, and then stamping it on Halloween treat bags or fabric or signs.
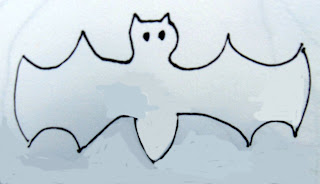 |
| Batty |
I've noticed whenever I draw a bat like this, one wing ends up longer than the other. Since the design is basically symmetrical, I could fix that by just drawing half a bat, then tracing each side onto a new paper by flipping it over for the second half. You could cut some out of white cardstock, bend them in the middle, and hang them as mobiles around the classroom or bedroom.
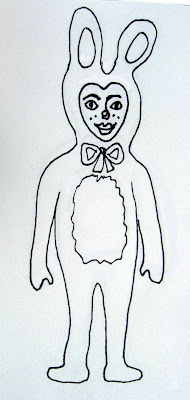
The girl in the bunny costume was a challenge. In the first drawing I explored the idea but I knew I could do better. The second attempt is cuter, but the girl looks older than I wanted her to, and I ran out of room for the legs. The third one I liked a lot, but redrew some bad lines that were too fat or whatever. Then I put a clean paper over it, and could see through it well enough to draw the new and improved bunny girl. If your drawing is in pencil you'll probably have to use tracing paper to draw the improved version, and then graphite paper to transfer the design back to a new paper. Don't be afraid to 'try try again'. People rarely come up with a drawing they love on the first try.
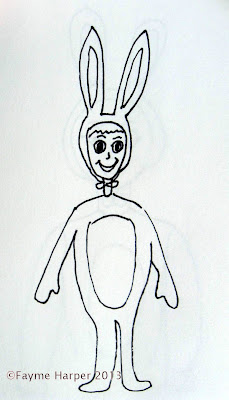 |
| Girl in Bunny Costume |
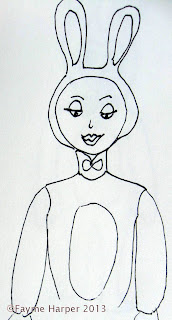 |
| Version 2. Still not quite what I wanted, though I might trace the face for another application. |
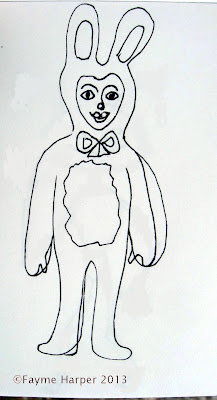 |
| Another try at the Girl in the Bunny Outfit. | | |
|
 |
| Final version after tracing the previous Bunny Girl |
In the third version, I finally had what I wanted but the right arm was too fat and the foot needed improving. So I drew in the corrections and then I traced it on a clean piece of paper and made the corrections. I added the freckles. This would make a great doll.
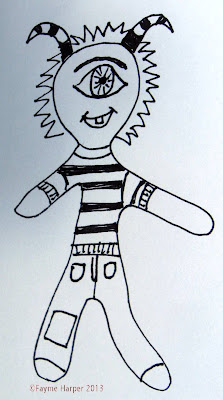 |
| Cyclops Boy |
I'm definitely going to use this one for a monster doll. At first it was just an outline for the mummy boy, but it was too out of whack so I rejected it. Later, I came back to it and decided I liked its quirky shape.
So I turned it into a horned cyclops boy in his t-shirt and jeans. These "Ugly" dolls have been popular on Etsy for some time now. Us misfits can relate to these 'less than perfect' shapes. They make us feel safe and they make us smile.
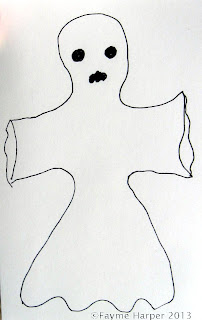 |
| This is my standard ghost that I've been drawing since I was a child. |
This is my 'go-to' ghost that I learned to draw as a child. I think it would make a great cookie cutter and the cookies would be fun to decorate with white icing and black candies for the eyes and mouth.
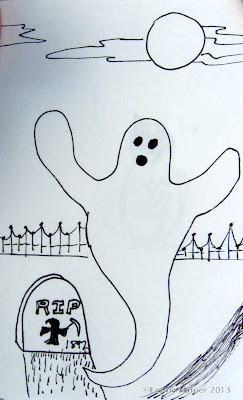 |
| Ghost in a graveyard. |
|
This time I drew the ghost first. He seemed lonely alone on the page, so I added the tombstone. Then I added the graveyard fence. Then I added the moon and clouds. If you want, you can trace a coin to get a better circle for the moon. I added the ghost shadow, but then I couldn't decide if it worked or not. Better to find out things like that on a small thumbnail sketch than on a full sized painting.
 |
| Mummy Boy with Dark Doorway |
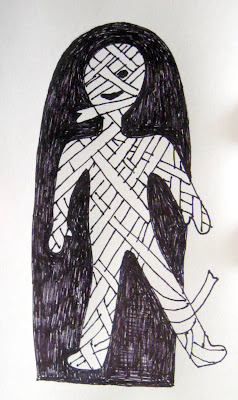 |
| Doorway filled in. |
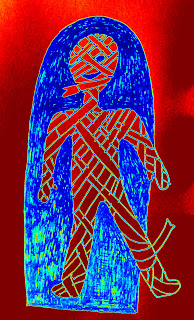 |
| Photo Manip of Mummy Boy |
|
Inspiration comes from many places. The mummy boy design was originally a bread dough art doll I made years ago. I fell in love with his charm. Part of drawing is deciding when to quit. One of my art teachers said, "You are done when there is nothing else you want to do to it." So I decided to color in the background to make it look like he was coming out of a cave or a pyramid. I only had one pen with me and coloring it in was very tedious. Try to keep a bigger pen handy for filling in large areas. You'll be glad you did.
Remember even if you don't love your drawing, a lot can be done by manipulating it on a computer. So I put my mummy in Picasa and did a one button edit that made it look like the colored design above. Cool.
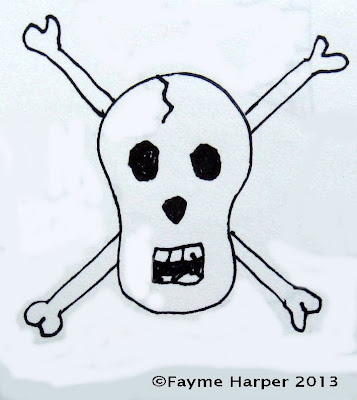 |
| Skully |
I've been drawing some version of this skull and crossbones all my life. If the crossbones are hard to line up use a ruler to lightly draw some guidelines. You might ask yourself what your iconic symbols are; things you draw over and over again.
 |
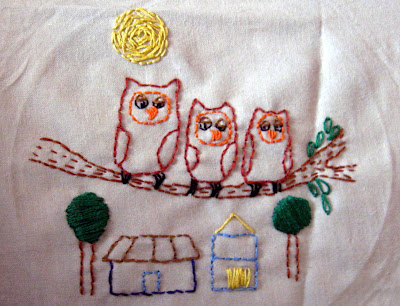
| Trio of Owls by Fayme Harper |
A few weeks ago I drew 3 owls on a branch for an embroidery project. Then today I drew these 3 owls by a knot hole in a tree. Remember, you can turn your drawings into many things. Simple drawings work well for embroidery. Maybe you have a favorite drawing from a child that you could turn into an embroidered keepsake.
 |
| Turning a drawing into a keepsake. |
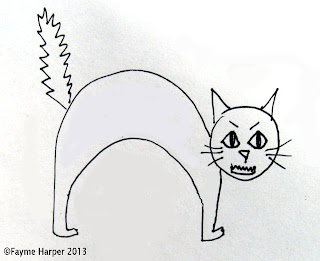 |
| Don't be a scaredy cat. Try something new. |
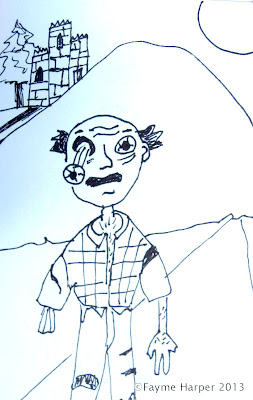 |
| Zombie leaving the castle. |
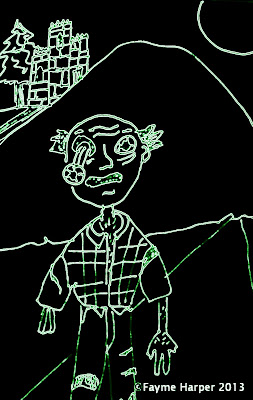 |
| Photo manipulation makes the zombie lurking in the dark. |
Make sure you step out of your comfort zone and try new things. I don't recall ever drawing a zombie before. Thanks to some Picasa editing, now he is a night zombie.
To make the zombie I drew the detached eyeball first. The more you draw, the more you learn which things overlap and have to be done first. If you draw all the features first, it is easier to get the head big enough to go around everything. Next I drew his plain shirt and pants. Then I added rips and tears and the plaid shirt.
I decided I wanted a castle in the background so I drew the hill first to see how big to make it. I added a castle with 3 towers. Then I drew the horizon line and a path to help with the perspective. I added a tree and a moon to give it more interest.
I hope you enjoyed my Halloween doodling inspiration. Comment below and link me to your doodles. I'd love to see what you made with this lesson. Toodles.